Correctly setting up the print units and colour sequence is important and influences the final print’s outcome.
The rule of thumb is from lightest to darkest colour, though this can also depend on whether it’s line work with no overlapping colours or transparency of UV inks; or if it’s tight register line work, a process job or a process job with spot colours.
With UV links, for example, if you have a black then a yellow over top or trapping the yellow it can show up depending on the laydown of either colour. If the black is over the yellow, then this is less visible or not visible at all.
With water-based inks, because they have good transparency, it’s common for many printers to run darkest to lightest colour.
On an MPS press, cyan is run first and is used as the master unit so that the other colours can follow the cyan eye mark on the mark-to-mark register system.
Where to begin
Setting up colours at the end of the press closest to the die and rewind stations is always advisable due to the short web path to the finishing end of the press.
If you have a 4-colour job on an 8-colour press and set it up in units 1 to 4, the distance and waste will increase along with the registration time from print to inspection camera. To reduce distance to the finishing end it would be optimal to run this 4-colour job in units 5 to 8, thus reducing the web length between the final print station and the rewind.
For simple line work which has no overlaying colour or trap, you can set up any colour in any sequence but this is a bad habit to get into so it’s best to keep it lightest to darkest for surface print jobs.
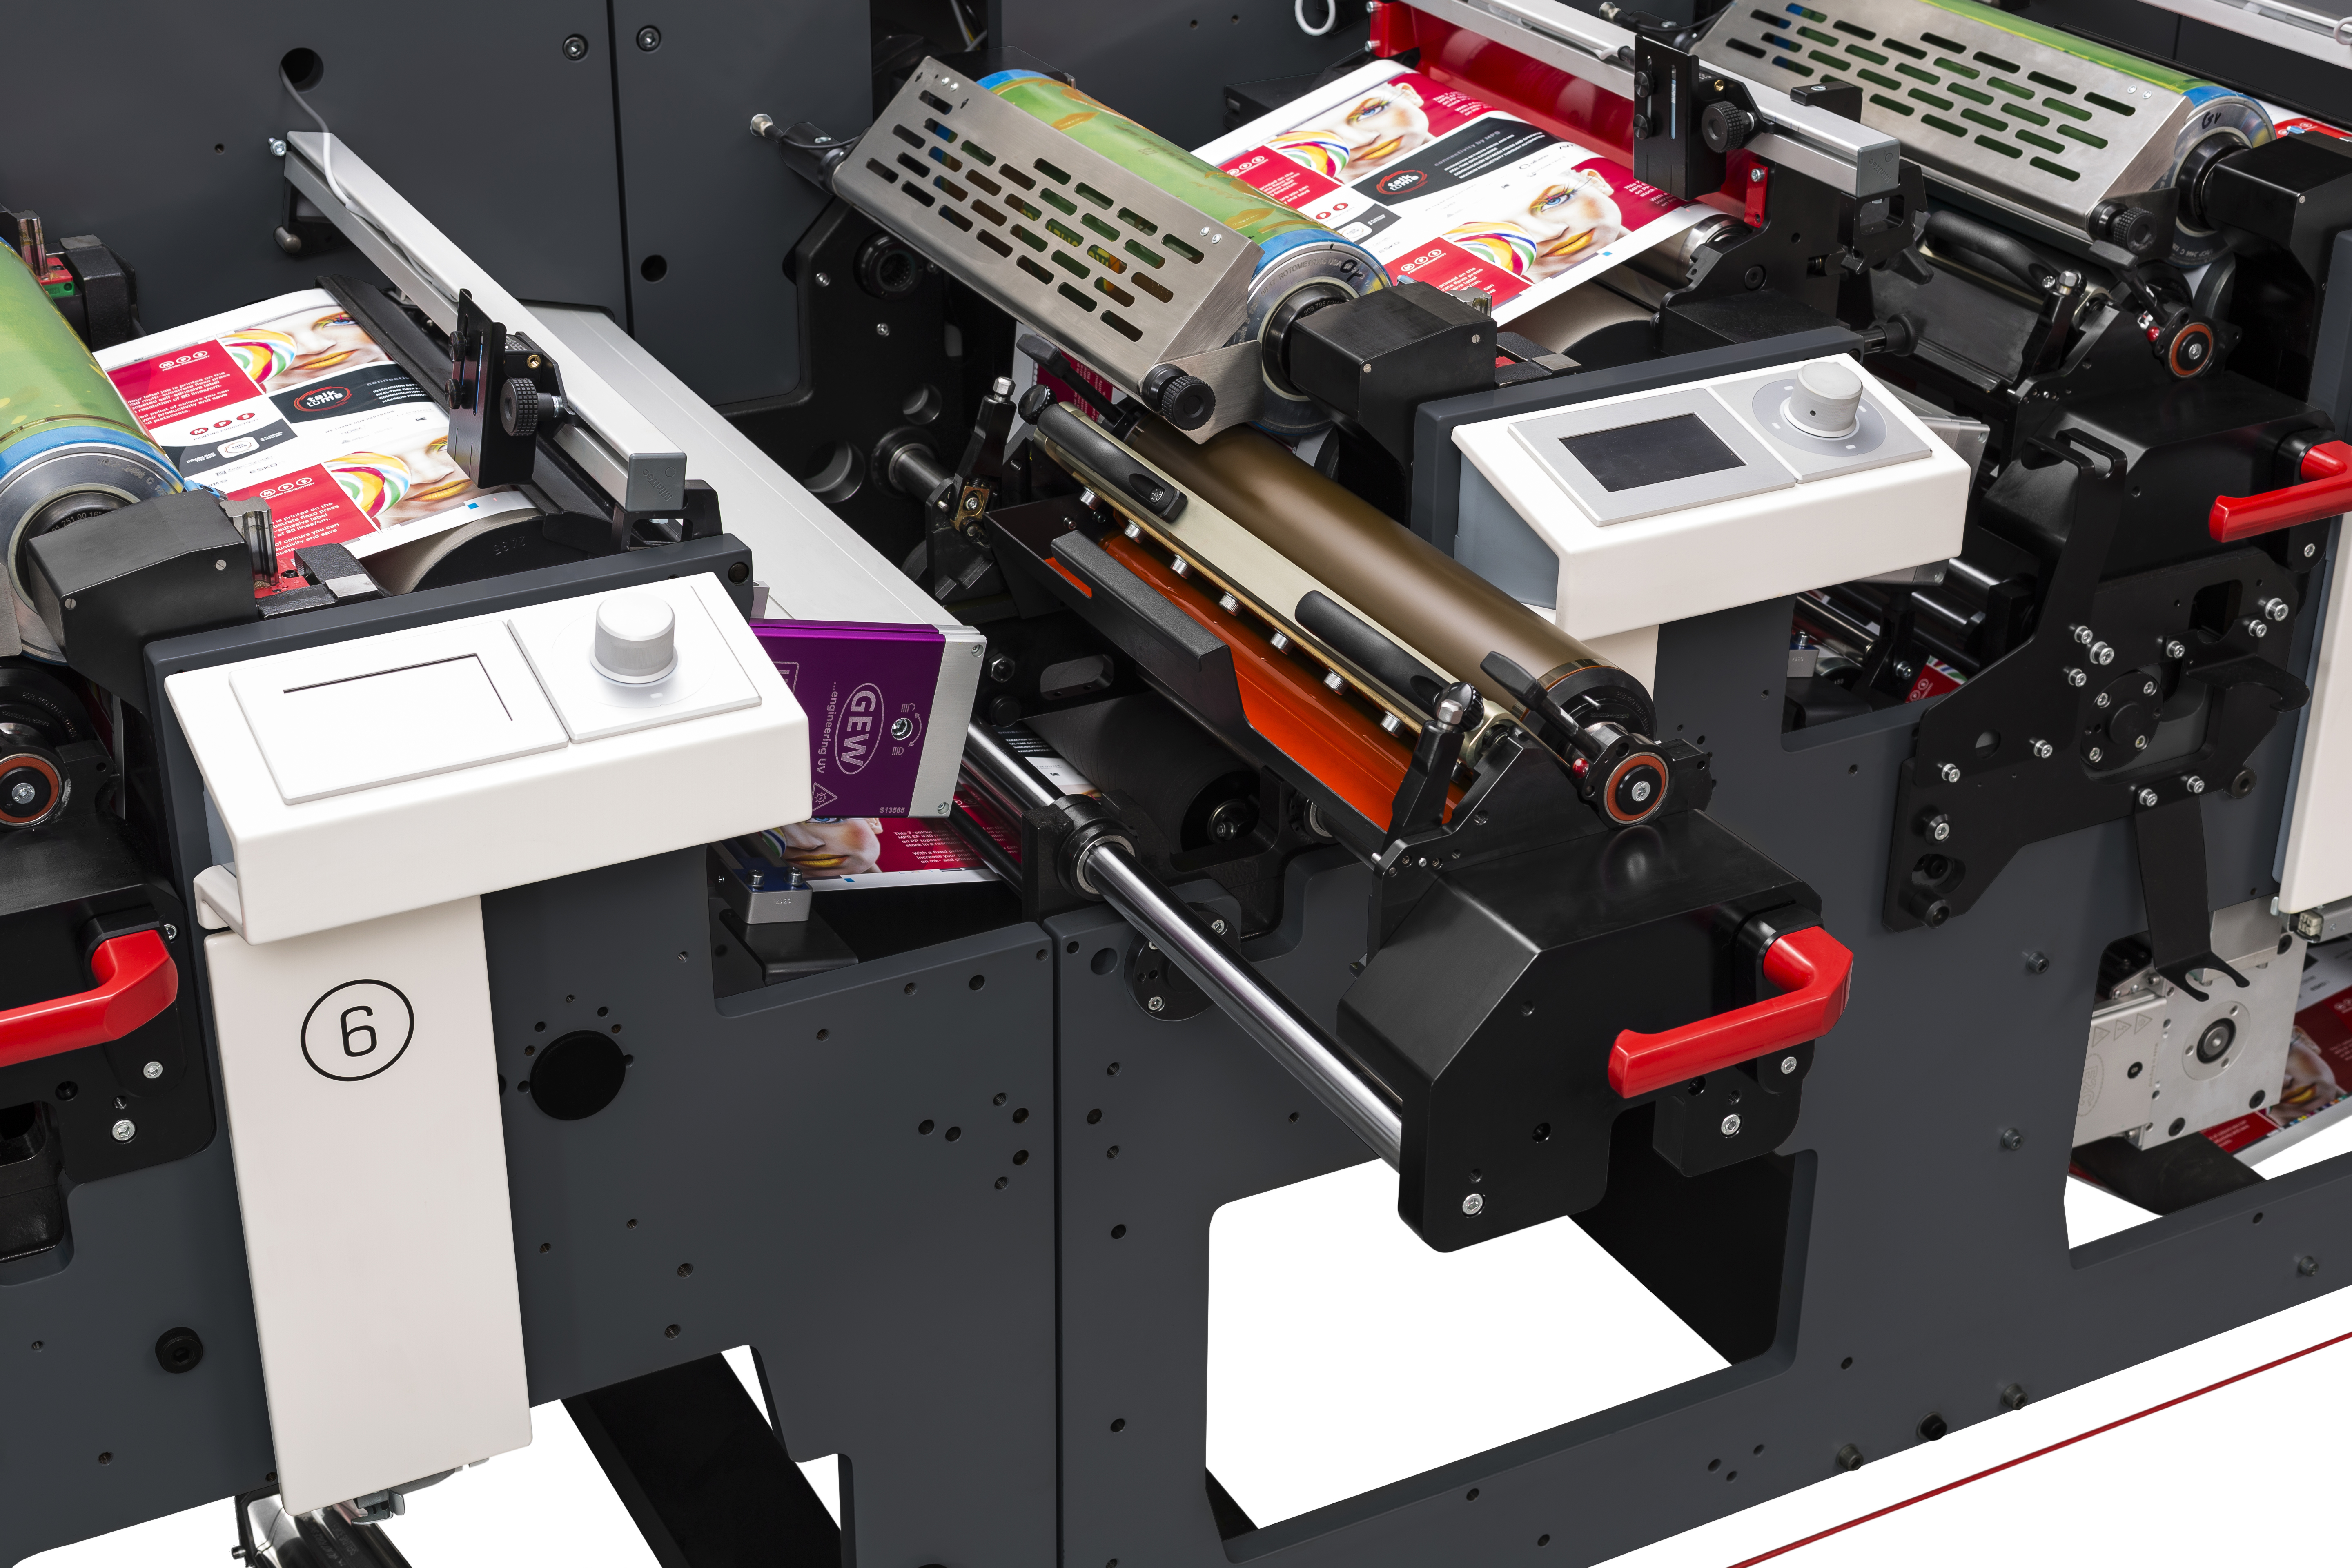 MPS EFA Slide out ink drawer
Surface printing
Surface orienting is the most used process in printing; the job is printed face up or the image is read from the surface of the substrate in the lightest to darkest colour when printing.
This method is used on newspapers, cups, kiosk rolls, labels, flexible packaging and more. It’s also commonly used for products not destined for human contact but if it is, then it can be laminated or low-migration inks can be applied.
Reverse printing
Reverse printing is where the print is face down on the substrate and is printed darkest to lightest colour. This gives the printed image the protection of the substrate and is usually laminated on the print side to insulate the print in between the substrate and laminate film.
Shrink sleeves are printed in reverse; this protects the print because it is on the inside of the substrate and against the bottle, making it very durable and scuff resistant.
Reverse printing is very common in the flexible packaging industry for all types of products and food products that need to meet strict standards, or for products that need to be extremely durable. Lamination is normally done offline on wide web presses due to the format of the machine, but this depends on the layout of the press.
Overall press setup
- Colour sequence and applications (surface or reverse print)
- Preparation of ink trays, pan rollers, aniloxes, chamber or doctor blades and plates
- Applications: hot or cold foil, laminating, embossing, die cutting or ready to go
- Inks premade if required for special colours and on press
- Substrate and other arrangements like foil at the end of press
When setting up not only your print unit but the rest of the press, it’s recommended to have all the above ready to go for an efficient changeover. This is called Make Ready; I also wrote a short snippet on this which you can read here.
If you have a modern servo-driven press, such as an MPS, getting all units in register is done for you once the information is entered into the main screen.
The MPS press has a job memory function which will set all parameters from tension to print cylinder size, registration etc. This saves setup time and having you record this information for the next job as it’s done for you.
For older machines, one of the quickest ways is to get a marker and put a line across the web and line up all centre lines of the plates to this line, even the applications and die, so all units are in the same repeat. If they are 180 degrees or even a single image off, you will have issues with fit.
When pre-press prepares the artwork, it’s designed to be printed with all units aligned. If this step is missed, the printer may think the artwork is wrong but in fact the machine is set incorrectly. Only when all units are correct and the centre line of the plates align can there be a possible pre-press issue; your supervisor and or pre-press should be approached with at least 2 or 3 complete repeats of a printed sample to determine the issue.
Importance of the operator
The setup of your printing press is critical and has variables and variations as every job is different, from simple line work to a 4-colour process with spot colours and embellishments, right up to de-lam and re-lam and more.
Therefore, it’s important to have the right operator on the right machine in your company. A good operator is the backbone of your printing company and a valuable asset.
A press operator can also help with training, and it’s a good idea to move your apprentice around to different printers to see how each person sets the machine up - so they can determine which method suits them best.
Placed with one printer for the duration of the apprenticeship, only learning how that printer sets up and prints, is a bad idea. Your apprentice will not learn different tricks and tips. If the printers are talented and the apprentice as well, they will more likely become a highly successful printer by learning from multiple printers during their apprenticeship.
This was my experience during my apprenticeship: I worked with about 15 different printers and took the good and learned what not to do from the bad, found out how and how not to set up, prepare jobs, do paperwork, and print the best jobs.
Get in touch
Thank you for reading my snippet. This was just a quick insight into setup and printing surface & reverse - there is much more to this topic. It also represents just some of what I’ve learned over the years, and some suggestions on training new printers.
I would appreciate any feedback or suggestions on this or any of my other snippets.
You can reach me via LinkedIn or via email k.marsh@mps4u.com.